If you’ve ever spent the night in the woods without a fire, you know how potentially cold and lonely it can be. There’s no light, there’s no peaceful crackling of the wood, and there’s no warmth.
When you spend a night in the great outdoors without a fire, you spend the night all alone. That loneliness can be turned off very easily with a scrape of a ferro rod. If you’re not careful dealing with your loneliness, you may end up dealing with a much larger problem. You may find the fire you created for comfort puts you in a really uncomfortable position when you can’t extinguish it.
A campfire should be understood in 4 phases:
- preparation
- starting
- maintenance
- extinguishing
Instead of focusing on the exciting and overshadowing stages of making fire and building it up, we wanted to present the details of fire preparation and extinguishing to make sure you don’t inadvertently invite a “companion” around the fire that won’t go away and actually could endanger the lives of others.
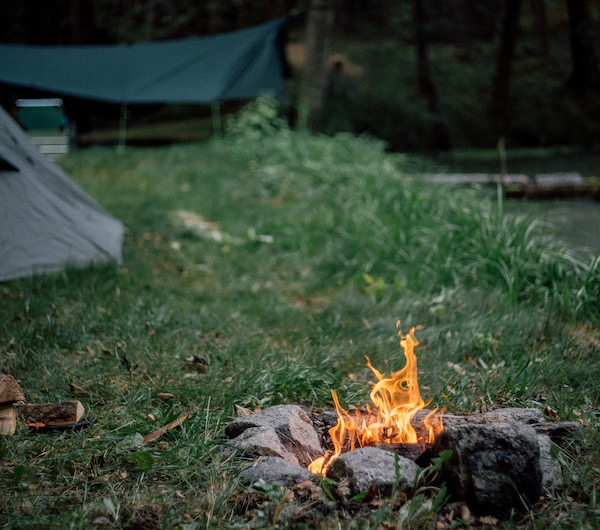
Preparation
You should never make a fire you can’t put out and you must think about the 2nd and 3rd order of effects if your fire gets out of hand before you light that match, lighter, or spark that ferro rod.
By thinking about the “what ifs”, you can be aware of what you need to prepare to safely have a fire in your camp.
Fire preparation is more than just staging your fire in your desired lay. It is more than collecting firewood although in the winter this seems like an ongoing and never-ending task. Fire preparation means setting up a relatively safe pit or ring where you can enjoy your campfire without the fear of it spreading.
Whenever I enter a camping area, I look for a good location to place my campfire. This means looking up above my head for low-hanging branches that could dry out and catch as well as looking down for softwood roots such as pines, firs, and spruces. Believe it or not, fires in the root system have been known to travel underground over long distances.
Once I establish a good location, I will either rake the area around the center of the fire pit with my foot or I’ll grab a branch and use it as a broom to remove duff, pine needles, and leaves. Should a spark or ember jump from the eventual fire, I don’t want it to land outside the pit and spread.
When building a fire, you can dig down into the ground and create a pit that will contain the coals that will form. This pit also serves the purpose of gravity-assisting the logs to the center of it.
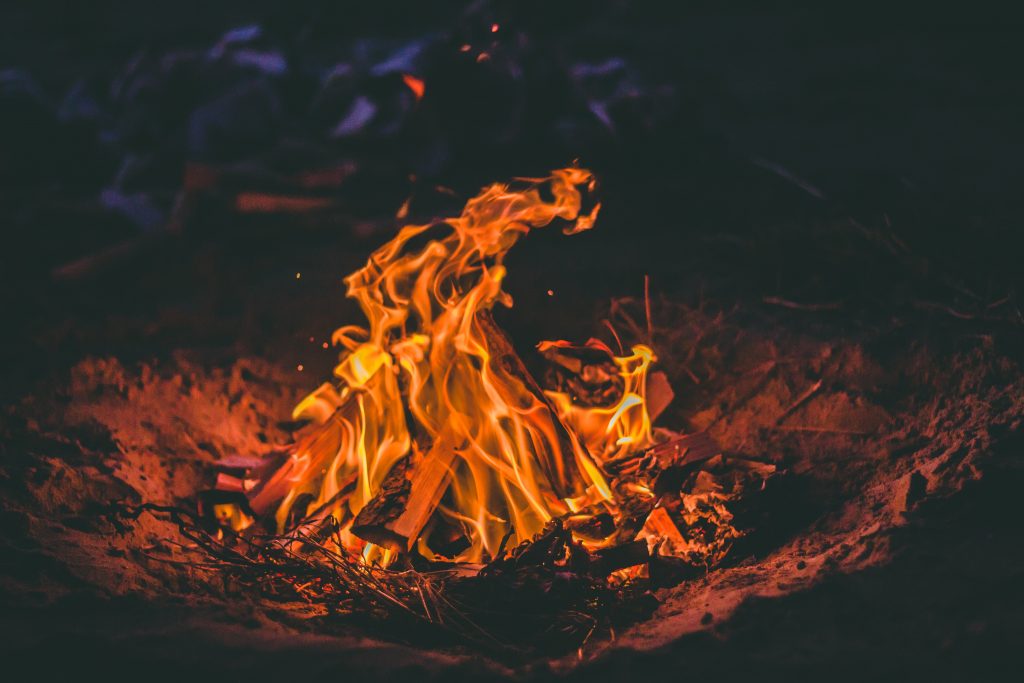
There’s nothing worse than laying next to a fire relaxing and having a rolling log fall from it and head your direction- so much for that relaxed feeling!
Depending on the size of the fire, I will often just make a small shallow hole in the ground just big enough for a fire to serve my purposes of cooking or heating my tarp shelter for the night.
I don’t need a large bonfire and the shallow pit is easily controlled. The pit you dig will also protect your fire and heat source from the wind. Smaller fires also conserve your woodpile for the night.
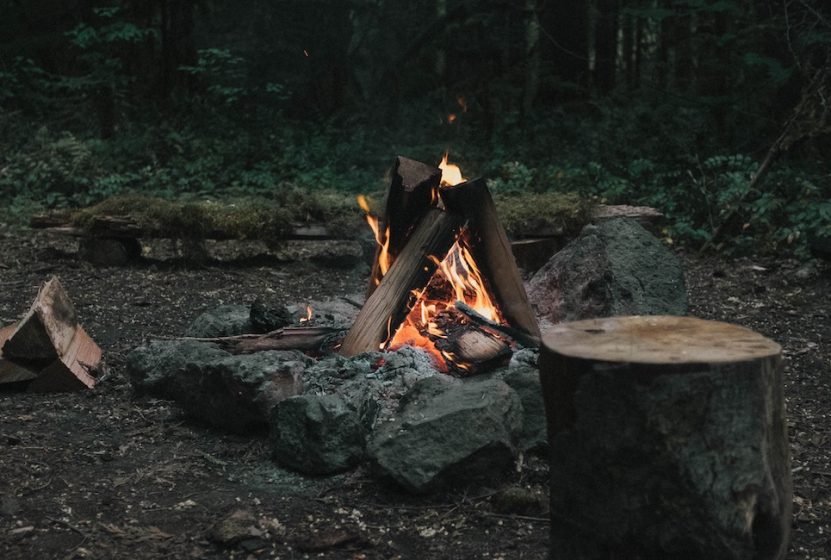
What many outdoorsmen will do is create a fire ring using rocks. This is the classic campfire staple with rocks lining the fire pit circumference. These rocks will work as a shallow pit to contain logs from rolling out and onto you.
They also can be configured like a keyhole to allow you to more easily cook with them by drawing ashes to put under your pot/pan/grill. These rocks should be gathered from dry areas.
Having had a rock explode in my face (I have video proof and will show you if we meet in person!) that was gathered from a damp micro depression, I will say the old suggestion of avoiding rocks from streams needs to be modified to “any wet area.”
Extinguishing
After your fire has been lit, maintained, and run its course, you’ll need to extinguish it. The surest proof way of doing this is drowning it with copious amounts of water. This does not mean urinating on it and calling it good.
This means using your water bottle, water bladder, or bucket over and over until the depression you dug is now a bowl of water with no steam rising from it. I generally will break up a fire and spread the leftover logs a few minutes before pouring water over it. This will help slow down the rate the wood is burning and make your job easier.
Do not confuse drowning with suffocating your fire. Sure, you’ve learned a blanket can be used to cover a person on fire (didn’t we all learn this from the movies?) but you shouldn’t think about covering your fire with a cloth or the dirt you removed to dig the depression. Burying a fire may snuff out the flame but the heat and fuel will still be present. Think about it, the Hawaiian Imu oven used for luaus can cook an entire pig for over 8 hours underground.
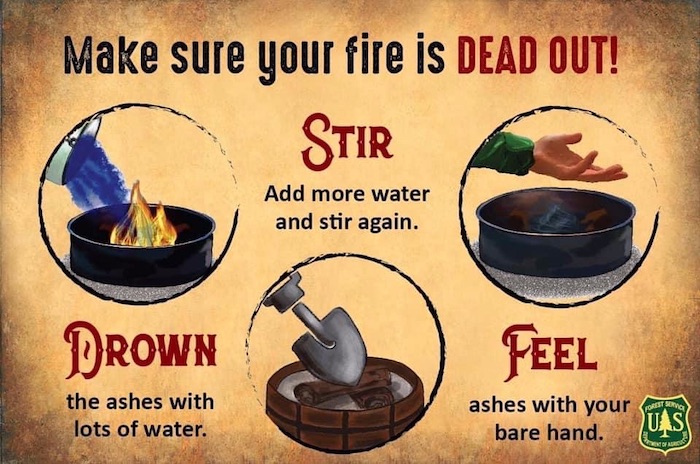
You could easily leave a fire burning and it would pose a risk when the heat travels or when the wind blows the earth off of the pit. Sand, soil, and strata of all different types of earth should not be used. Remember, use water, lots of water.
When you believe you have drowned the fire, look carefully. Make sure you don’t see any residual embers or even smoke coming off the logs in the fire pit. Pull the larger logs out of the soupy water/ash concoction and feel them to be sure. Warm is fine but cold is better. As long as they aren’t hot to the touch, you can be reasonably sure your fire pit is safe to leave behind.
If you’re truly concerned about spreading fire from your campsite to the nearby woods, don’t build a fire. Common sense should always prevail. If the wind is howling or if the conditions are extremely dry, ask yourself, “what would a reasonable person do?”
Camping without a fire can be lonely but if you are prepared ahead of time, you can bring a LED lantern and mitigate the effects of the darkness. Many times, even during a fire ban, small canister stoves are allowed to let you cook a hot meal.
Technology can be your friend when fire-ban conditions are in place and you are a friend to the entire wild space when you are fire-safe and abide by all of the posted fire restrictions.


I am not a camper, however, I did learn a great deal that could still be used around the home.