“I can’t tell you when you’ll need to know this, I’ll just say it is good to know for when you will need to use it.”
That’s how I preface a lot of skills I teach to mixed crowds. Picking handcuffs, building primitive weapons, starting fires with questionable materials, sometimes topics like these just have a way of coming up while teaching groups where not everyone is on the same page. I get it, homemakers probably don’t want to learn about flexible weapons and restraints when police and military guys do. As an instructor, I have to be very careful with what I teach and I keep the flow of information under my control.
Over the past 10 years, I’ve had the pleasure of working with everyone from the highly inquisitive and youthful to seasoned and weathered older crowds. Recently, I worked with a good friend preparing to embark on an epic challenge with limited resources regulated with the strictest of guidelines. While giving him a crash course of how to do more with less, the topic of a water crossing came up. Since boats aren’t provided and travel is required from point “A” to point “B”, failure is not an option. I rigged up a pack and poncho float and showed how with a little fieldcraft knowledge, this skill can help you stay afloat when others will sink to the bottom. I learned this skill with a poncho that had the hood tied off but a small 6 foot by 8 foot tarp will work. Again, you’ll have to decide when you need to use this, I’ll just show you how for when that situation arises.

Materials:
For a pack and poncho float, you’ll need a pack and poncho (obviously) as well as some paracord. That’s about it but some materials will help make your float much more buoyant. Empty water bottles and closed-foam pads have great buoyancy and should be utilized. Any plastic bags like Zip-Locks and garbage bags will help keep your gear dry should your tarp spring a leak. A pair of skivvies will also keep you from going bareback and bare butt in the water if you want to avoid showing off too much of yourself to those nearby. Then again, I’m not sure what scenario you would be in where this skill as well as modesty would ever factor in together.

Process
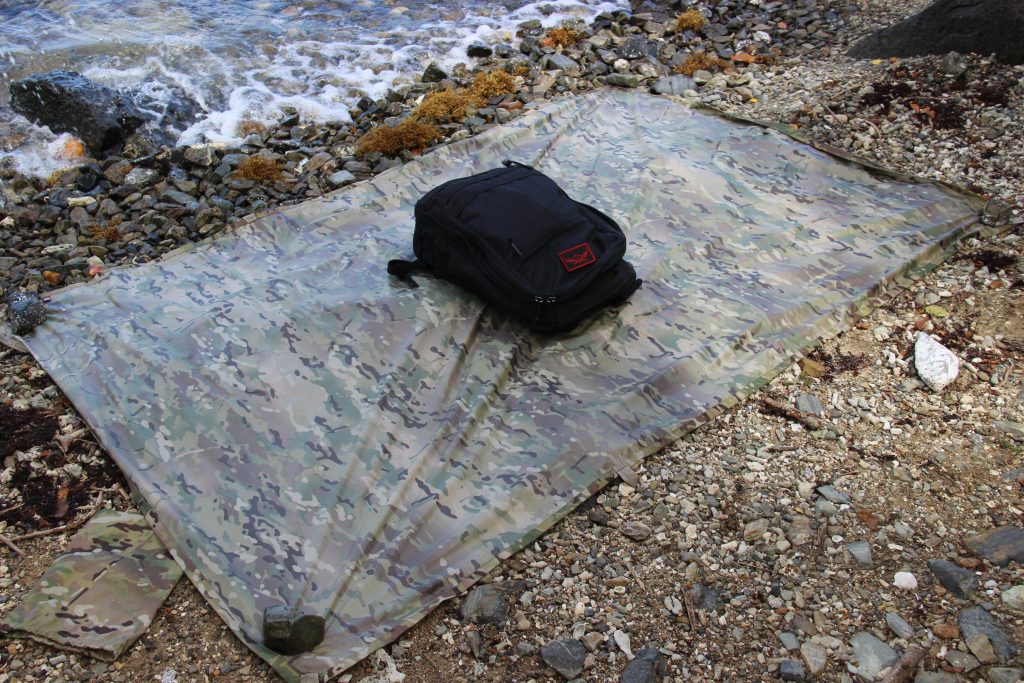
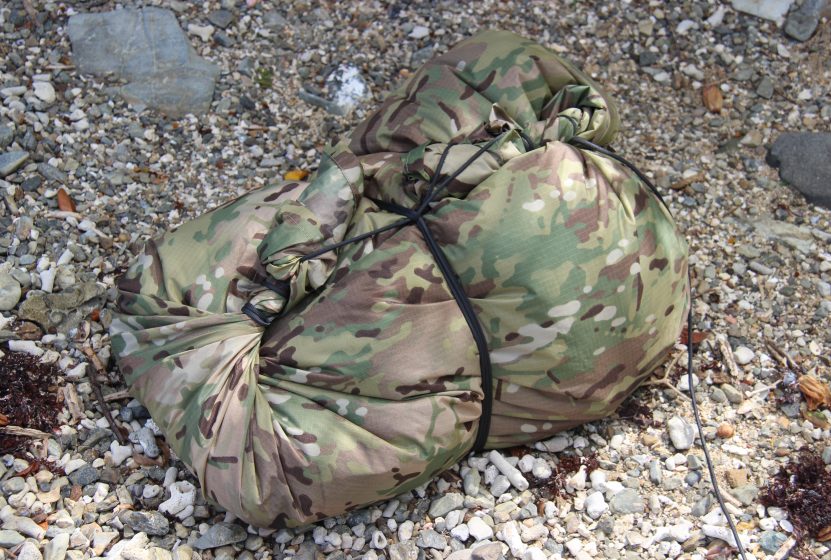
The process of constructing the raft is fairly straight-forward. The first step involves laying out the poncho and the pack. Make sure to check your poncho against the light for holes. Patch anything with duct tape before proceeding. Take a look at your pack and make sure it is packed evenly. Also, make sure you have everything, including your clothes if you want to stay dry, stored properly in water-resistant pouches if you have them. Lay your tarp down with the inside facing up. Place your pack in the center and take the long end (assuming you have a rectangular tarp) and gather it in the center with your pack in the middle of this “taco”. Start rolling the top of the taco tightly down to the filling (I’m going to run with this terminology because it’s easy to visualize this). Keep rolling it down the entire length of the tarp. Starting with one end, cinch it tightly shut with paracord and continue to wrap it before finishing it with a half-hitch. Repeat this process on the other side so you have a “hard candy” ( that’s the second food metaphor if you’re keeping track) looking package. Tie the ends tightly together in a manner where they pull up toward the center. Just like you would tie a roast with butcher’s twine (that’s the third), tie up your poncho raft. At this point, I like to leave a tail end of my paracord with a loop for safety. More on this later.

Use:
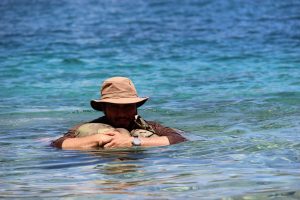
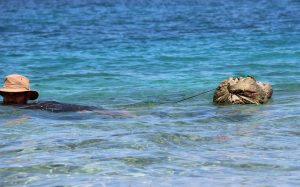
Before you use your pack and poncho float, practice with it in a local pool or body of water under controlled conditions. Your pack and poncho float is designed to work as a kickboard. You don’t want to straddle it or attempt to use it like a boat. This means you need to enter the water. If you need a watercraft to get you from point A to B completely dry, that is a whole other article for another day. Depending on the size of your pack and poncho float, you’ll be able to put more of your body on it as you cross. At the very least, you will be able to use it with outstretched arms in front of you. If need be, you can create a “leash” and tow it behind you.
Should you require a low-profile crossing, you can hold onto the paracord that runs underneath it and you can tuck behind it with only your eyes peering over or perhaps a muzzle of a firearm. When you use your pack and poncho float, don’t try to submerge it. It is designed to float and while it is going to be extremely water-resistant, the water pressure will force its way into it and get into your gear. It is best used in flat water as any time there is current there is always a chance of injury in rapids. Also, avoid using it over and around anything that could tear a hole in the fabric of the tarp. Make sure you hold onto that tail end of your paracord as a safety leash just in case you have to ditch your pack and poncho raft or in case you’re thrown from it. If you’ve seen the movie Castaway, you know Tom Hanks’ character Chuck did not attempt to rescue Wilson from floating away without a tether to his homemade raft.
When you get out of the water, carefully untie your float and avoid letting the water drain into your pack.There are many skills in the fieldcraft, bushcraft and tactical community and all of them weigh nothing. With this skill set and knowledge, you’ll never look at a pack and a poncho the same again. The same should apply to bandannas and padlocks, elastic tubing and PVC piping, rat-traps and chem-lights and other ingenuitive combinations.
This skillset doesn’t have to be used only for water crossings, it can be used to keep packs dry on overland vehicles or strapped to the inside of a raft. There is a chance you will never have to use this technique but in the off chance it comes up, you’ll be glad you paid attention to when it was presented.


