There’s nothing like a good hot meal after a long day on the trail. The kind that fills you up and warms you from the inside. Along with camping gear the food options for preparation in the Great Outdoors has improved considerably. In the old days strange concoctions using oatmeal, dried fruit, nuts and dried meat weren’t that unusual. Now, with freeze drying and modern packaging and preservation techniques you can have a “home cooked meal” in the middle of nowhere.
Interestingly enough, Chili was one of the original meals made to be prepared in remote places using reconstituted, dried ingredients. There are records going back to 1850 of “Brick Chili” being made for Texas Cowboys working out on the ranges. Dried beef, fat, pepper, salt, and chile peppers were pounded flat together into stackable rectangles. Once on the trail, all the cooks of the chuck wagon had to do was throw the “Chili Bricks” into a pot of boiling water creating reconstituted stew that became a hit with the Cow Pokes.
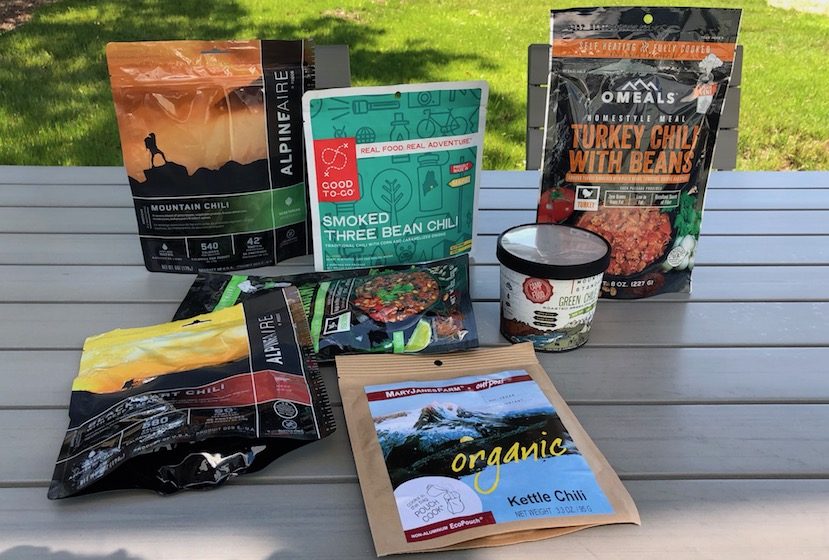
Fast forward to today and Chili is still as popular as ever for eating along the trail. For our Chili Cook off I purchased several brands of Chili that could be made in the pouch or using a compact camping stove such as a Jet Boil.
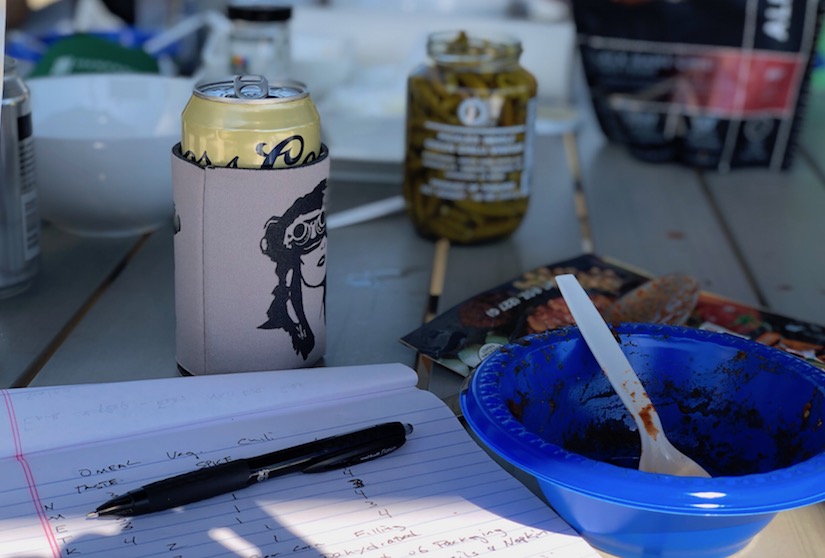
On a sunny weekend I iced down some beers and invited some friends over to be judges. We also had condiments that you could have on the trail without refrigeration such as chopped jalapeños, onion, grated cheese and Fritos. (Frito Boats!) All the food was judged without the condiments.
Each Chili was judged on a four point scale on Taste, Spice and Appearance, with one being the lowest and four being the highest. Scores for each brand are averaged out.
One overall comment is you are really hungry, you need to plan ahead. Almost all of the brands required boiling hot water to heat and reconstitute the food, followed by waiting 10-20 minutes to reconstitute. 20 minutes is a long time if you are really hungry and cold.
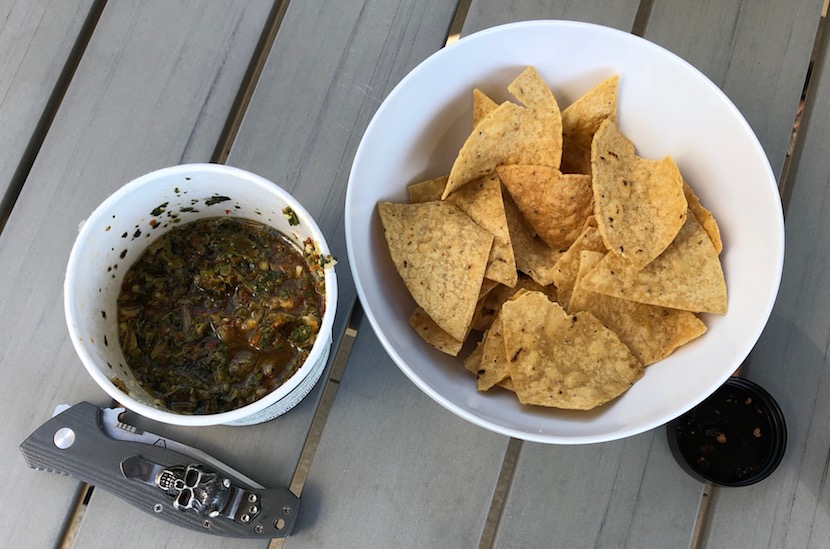
Luckily, we had fresh made chips from the local tortilla factory to snack on and a cup of dried green salsa, which we also reviewed. If you are on the trail I’d suggest bringing some tortillas or crackers to help fill up on.
Also “Spice” in relative, but as being a collection of Texans and Californians none of us felt that any of the food we tested could be considered spicy. This makes sense since it does come down to individual taste and they need to cater to the lowest common denominator. So if you like your food spicy, better bring some hot sauce.
Mountain Standard Green Chili Salsa “Spicy”
Preparation: Mix supplied packet of olive oil into the cup, add 8 ounces of water, stir and wait 10 minutes before eating.
Taste: 2.4
Spice: 1.5
Appearance: 2.5
Comments: The salsa didn’t really look like your typical salsa, it had more of an appearance like a chime churn or relish.
Quotes: “looks like a spread” “not too salty” “better than nothing”
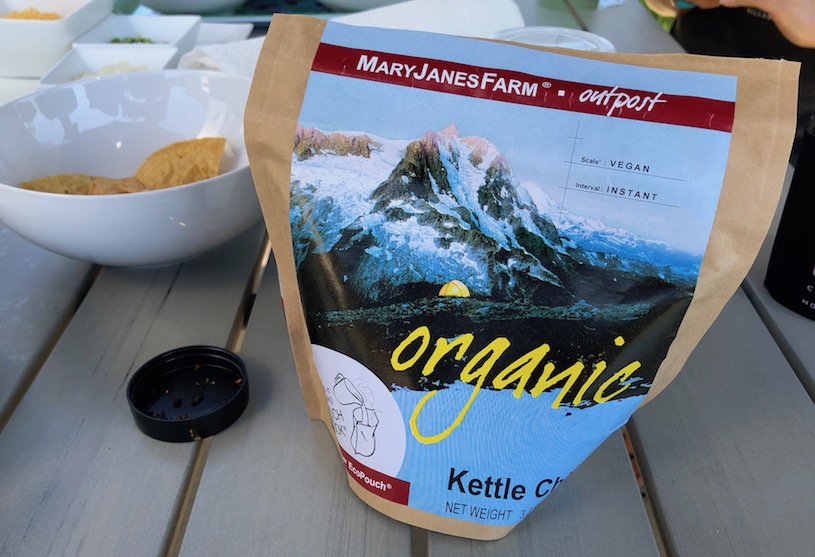
Mary Jane’s Farm Organic Kettle Chili – 3.3 oz. , 1.5 servings, 270 cal per serving.
Preparation: Add 3/4 cups of boiling water to package or bowl. Wait 7 minutes.
Taste: 3
Spice: 1
Appearance: 2
Comments: This Chili had a more of a soup like consistency. Flavor was pretty good, high on cumin.
Quotes: “lentil soup” “cheese thickens it up” “smells good” “great as a soup, just not chili”
Omeal Vegetarian Chili– 8 oz. , 1 serving, 160 cal per serving.
Preparation: Add heating element to package, pour in 3-5 oz. of liquid. Steam/ heat for 3-5 minutes.
Taste: 3
Spice: 1
Appearance: 4
Comments: The meal is already cooked and not dehydrated so in a pinch you could eat it cold. We used boiling water rather than the heating element. More packaging do to the bag within a bag preparation and heating element. Bag also contains utensil and napkin.
Quotes: “needs hot sauce” “there’s sweetness from corn ingredient” “Filling” “Self contained” “It would be a four across the board if it was spicier” “beany, Blazing Saddles chili”
Alpine Are Mountain Chili– 6oz. , 2 servings, 270 cal per serving.
Preparation: Add two cups of boiling water to package. (EZ Fill line on bag) Let stand for 10- 12 minutes.
Taste: 3
Spice: 1
Appearance: 4
Comments: The package has a built in ziplock for resealing/ leftovers.
Quotes: “just needs added spice” “very appetizing” “looks like chili” “good”
Good to Go Smoked 3 Bean Chili– 7 oz. , 2 servings, 340 cal per serving
Preparation: Add 2 .5 cups of boiling water to package. Reseal and wait 20 minutes. *Rehydration will take longer at higher altitudes
Taste:1
Spice: 1
Appearance: 1.5
Comments: Even after the prescribed wait time, the chili wasn’t fully rehydrated.
Quotes” “20 minutes is a long time” “2 and a half cups is a lot of water to boil and add to it” “needs longer soak” “label is cool”
Omeal Turkey Chili with Beans– 8 oz. , 1 serving , 220 cal per serving.
Preparation: Add heating element to package, pour in 3-5 oz. of liquid. Steam/ heat for 3-5 minutes.
Taste:2
Spice: 1
Appearance: 3
Comments: Like the other Omeal Chili, this meal isn’t dehydrated and is ready to go cold if necessary. The self-contained kit includes heating element, utensil and napkin.
Quotes: “It’s good overall especially considering ease of making” “pretty filling”
Alpine Aire Black Bart Chili with Beef and Beans– 6 oz. , 2 servings , 290 cal per serving.
Preparation: Add 2 cups of boiling water (EZ Fill line on bag) Let stand 10-12 minutes.
Taste: 2.5
Spice: 2
Appearance: 3.5
Comments: This one got better marks than it’s vegetarian counterpart. We felt 2 cups of water was actually too much and would have had better consistency with less water.
Quotes: “this tastes like chili” “a little salty” “meat flavor” “needs lees water”
Conclusion:
The overall the feeling of all the judges is that these meals were definitely better than they expected, but wait times and prep needed to be considered ahead of time.
And finally, if you are at altitude or been surfing, the salt water does a number on you taste buds – always carry your own source of hot sauce or spices to add heat and kick up the flavor!


